Introduction
This guide walks you through automating Claude Code from scratch. By the end you'll have agents running on a cron schedule, auto-accepting permission prompts, using secrets from your Keychain, and reporting to your phone. Everything runs locally on your Mac via ClawTab - a free, open-source menu bar app.
Why Automate Claude Code?
The default Claude Code workflow is: open a terminal, type a prompt, wait, approve permissions, wait, read the output. It works. But it's a manual loop that requires you at the keyboard the entire time.
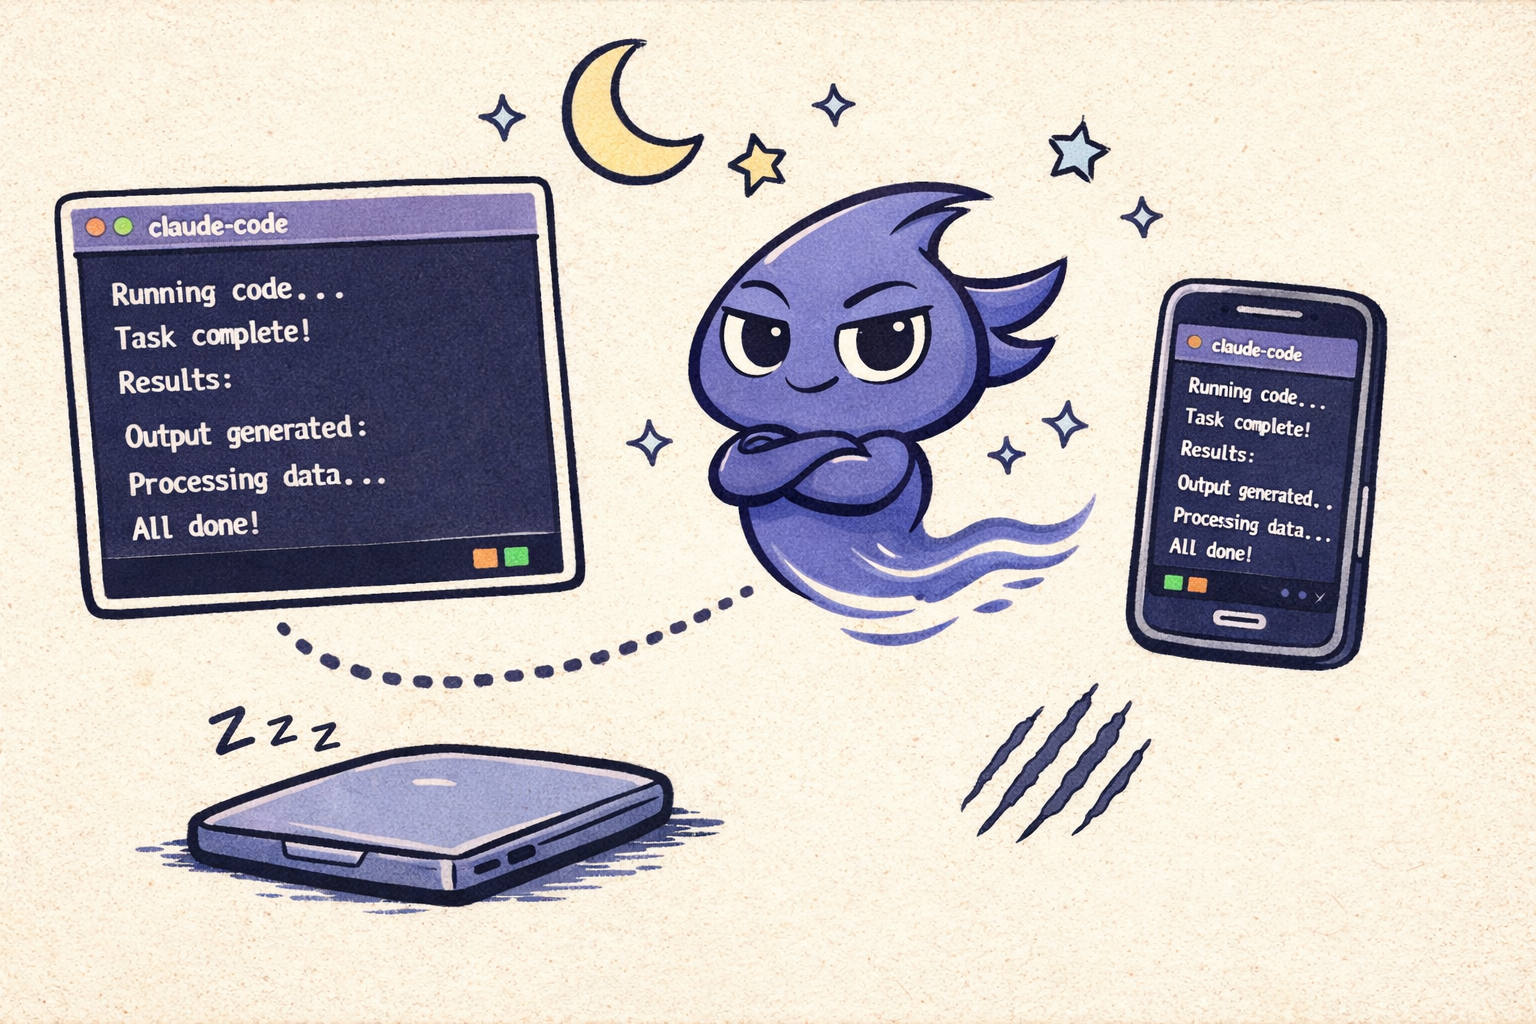
Automation removes you from the loop. You define what agents should do, when they should run, and how they should handle permissions - then walk away. The agents run, the results show up on your phone or in Telegram, and you review the output when it's convenient.
Common automation scenarios:
- Daily code review. An agent reviews open PRs every morning at 9am, posts summaries, and flags issues.
- Nightly test runs. An agent runs the full test suite, opens issues for failures, and sends a Telegram summary.
- Dependency updates. An agent checks for outdated packages weekly, updates them, runs tests, and opens a PR.
- Documentation sync. An agent reads code changes from the last 24 hours and updates relevant docs.
- Data pipeline monitoring. An agent checks dashboard metrics on a schedule and sends alerts when anomalies appear.
Each of these would take 10-30 minutes of manual interaction. Automated, they run while you sleep.
Step 1: Install ClawTab
ClawTab is a macOS menu bar app that manages Claude Code agents. Install it via Homebrew:
brew install --cask tonisives/tap/clawtabOpen ClawTab from your Applications folder. You'll see a small claw icon in your menu bar. Click it to open the jobs panel.
ClawTab runs as a background daemon via macOS launchd. It starts automatically on login, survives reboots, and stays out of your way until an agent needs attention. You can also install it from the GitHub repo if you prefer building from source.
Verify the installation:
cwtctl ping
# should print "pong"
Step 2: Create Your First Job
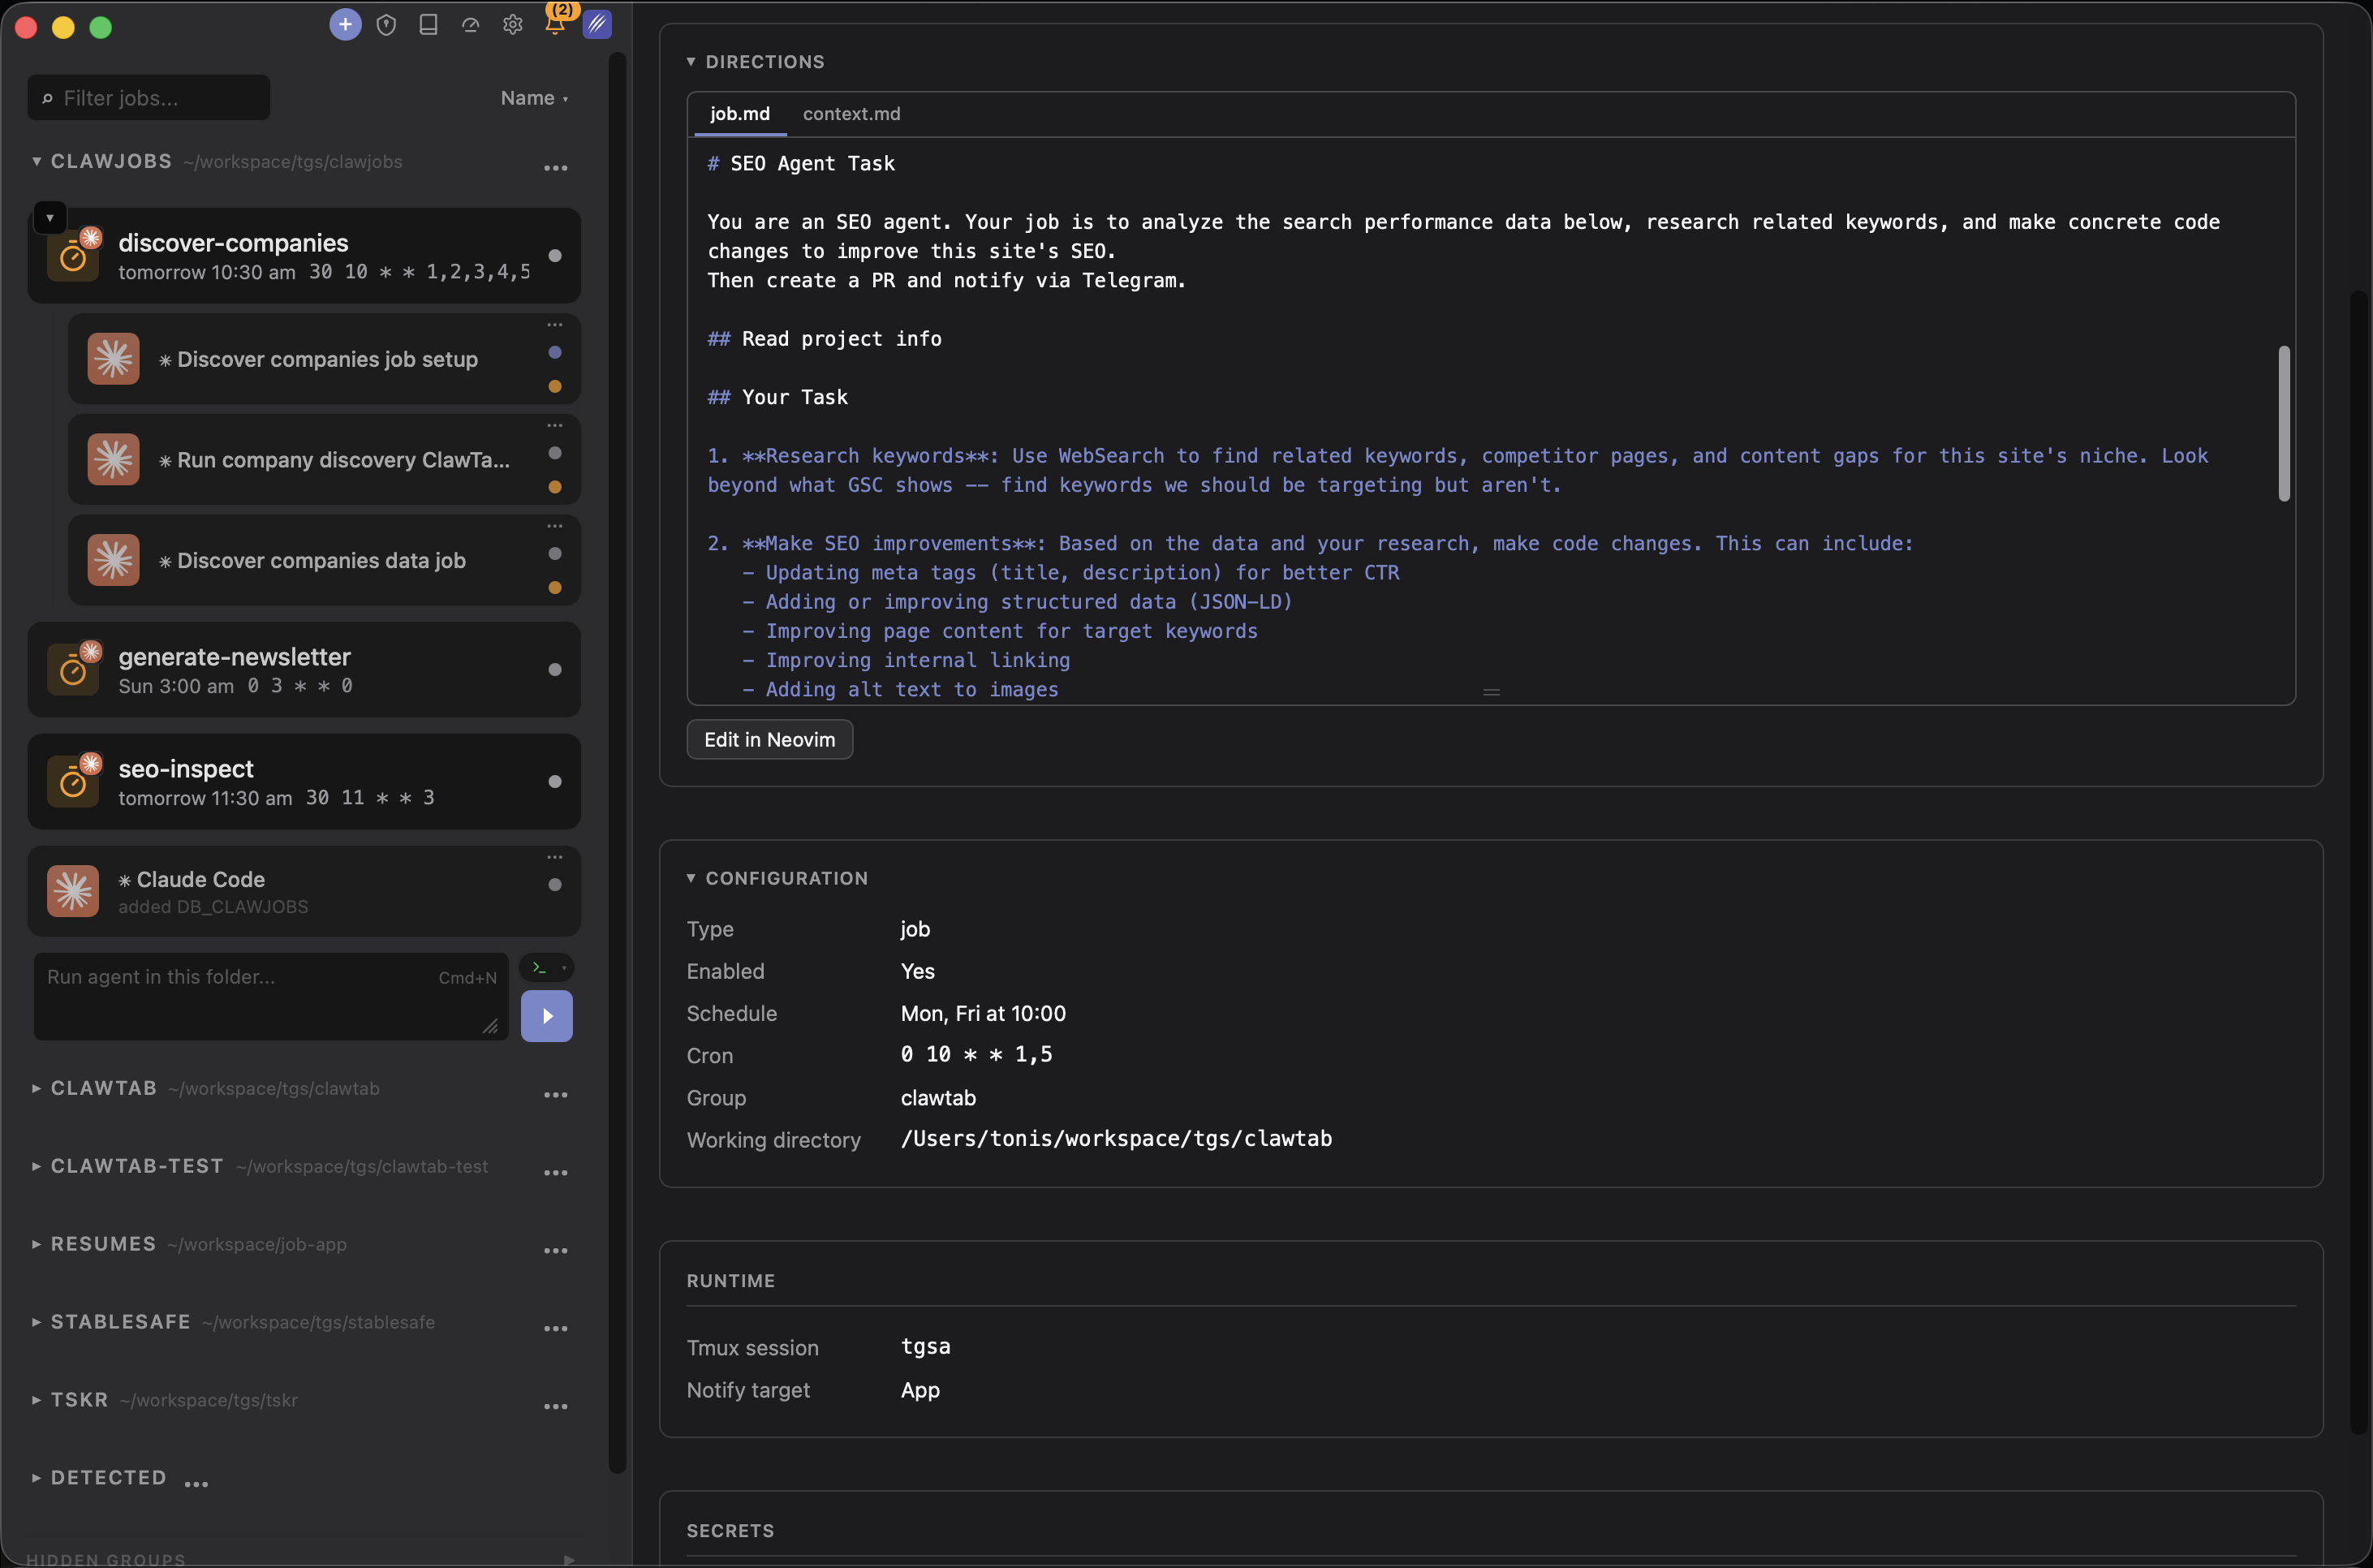
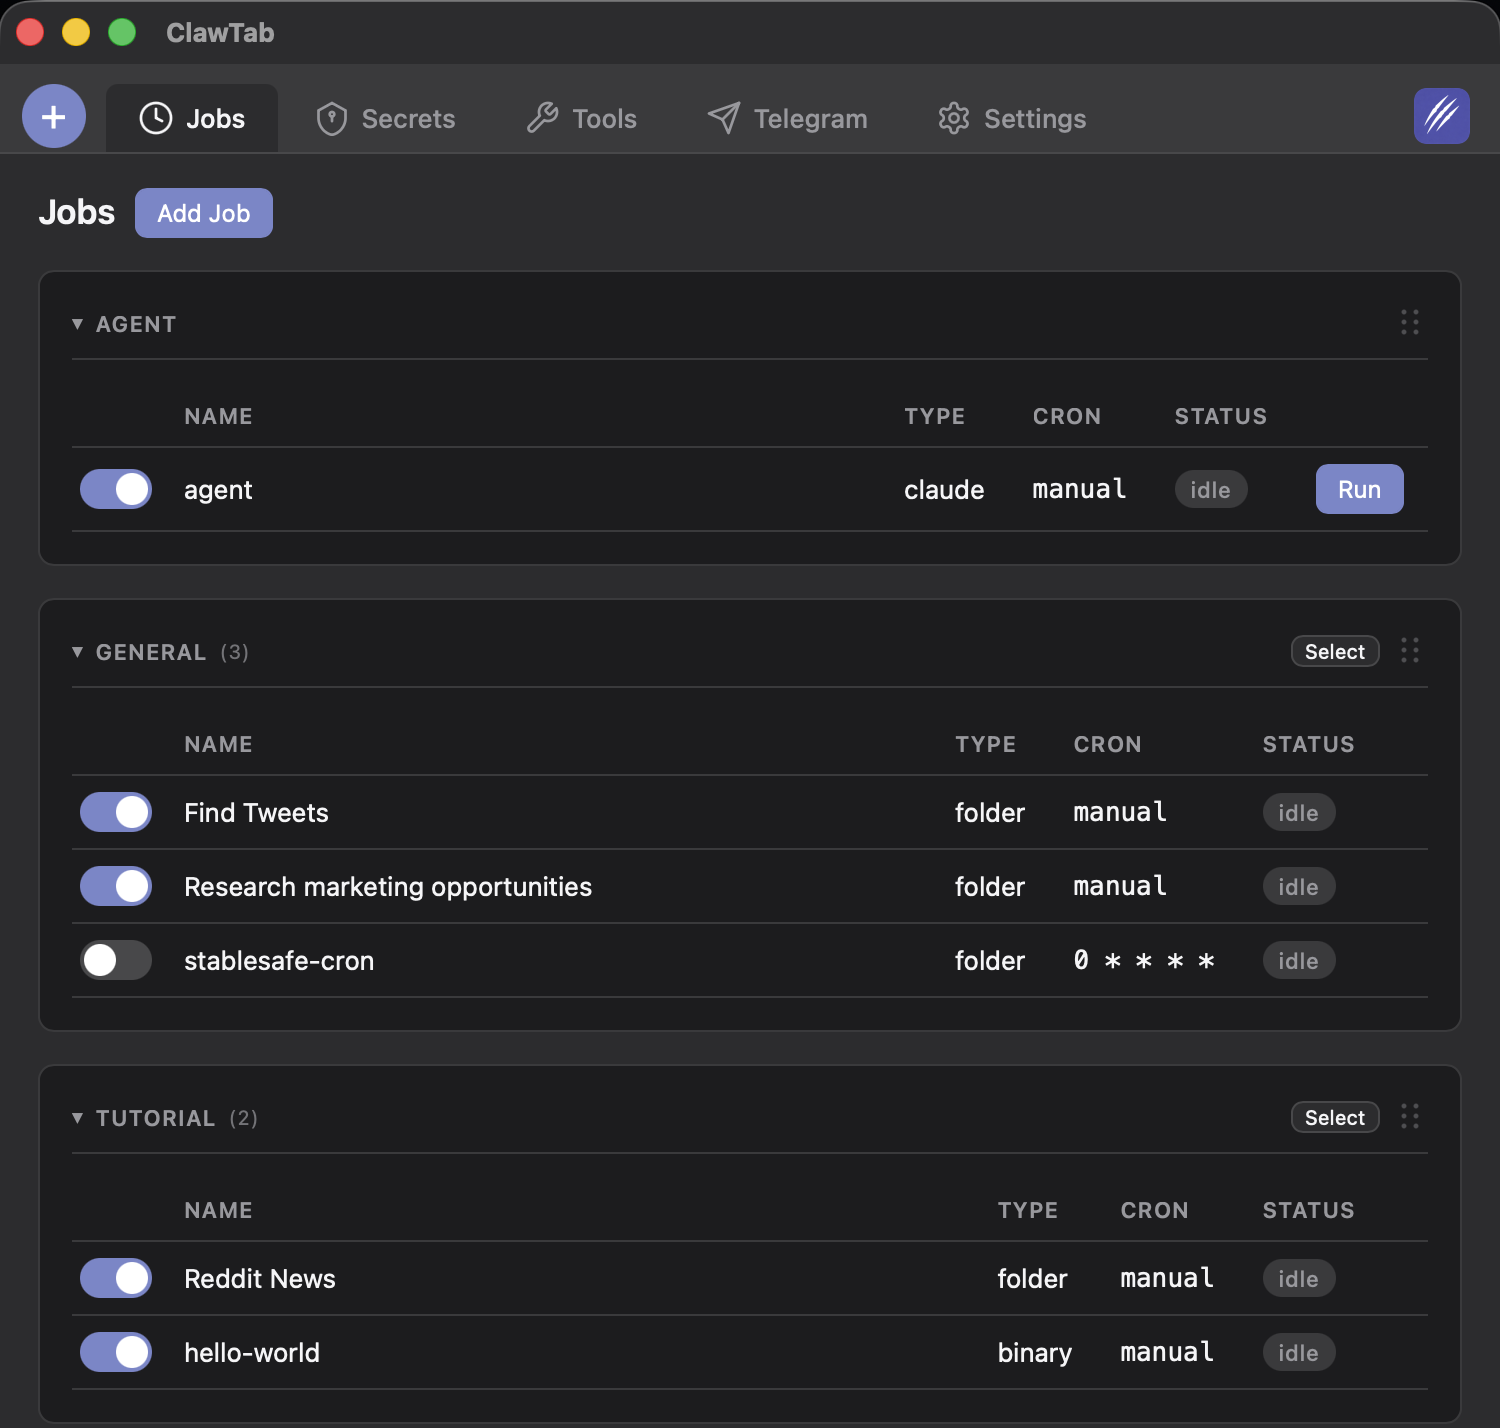
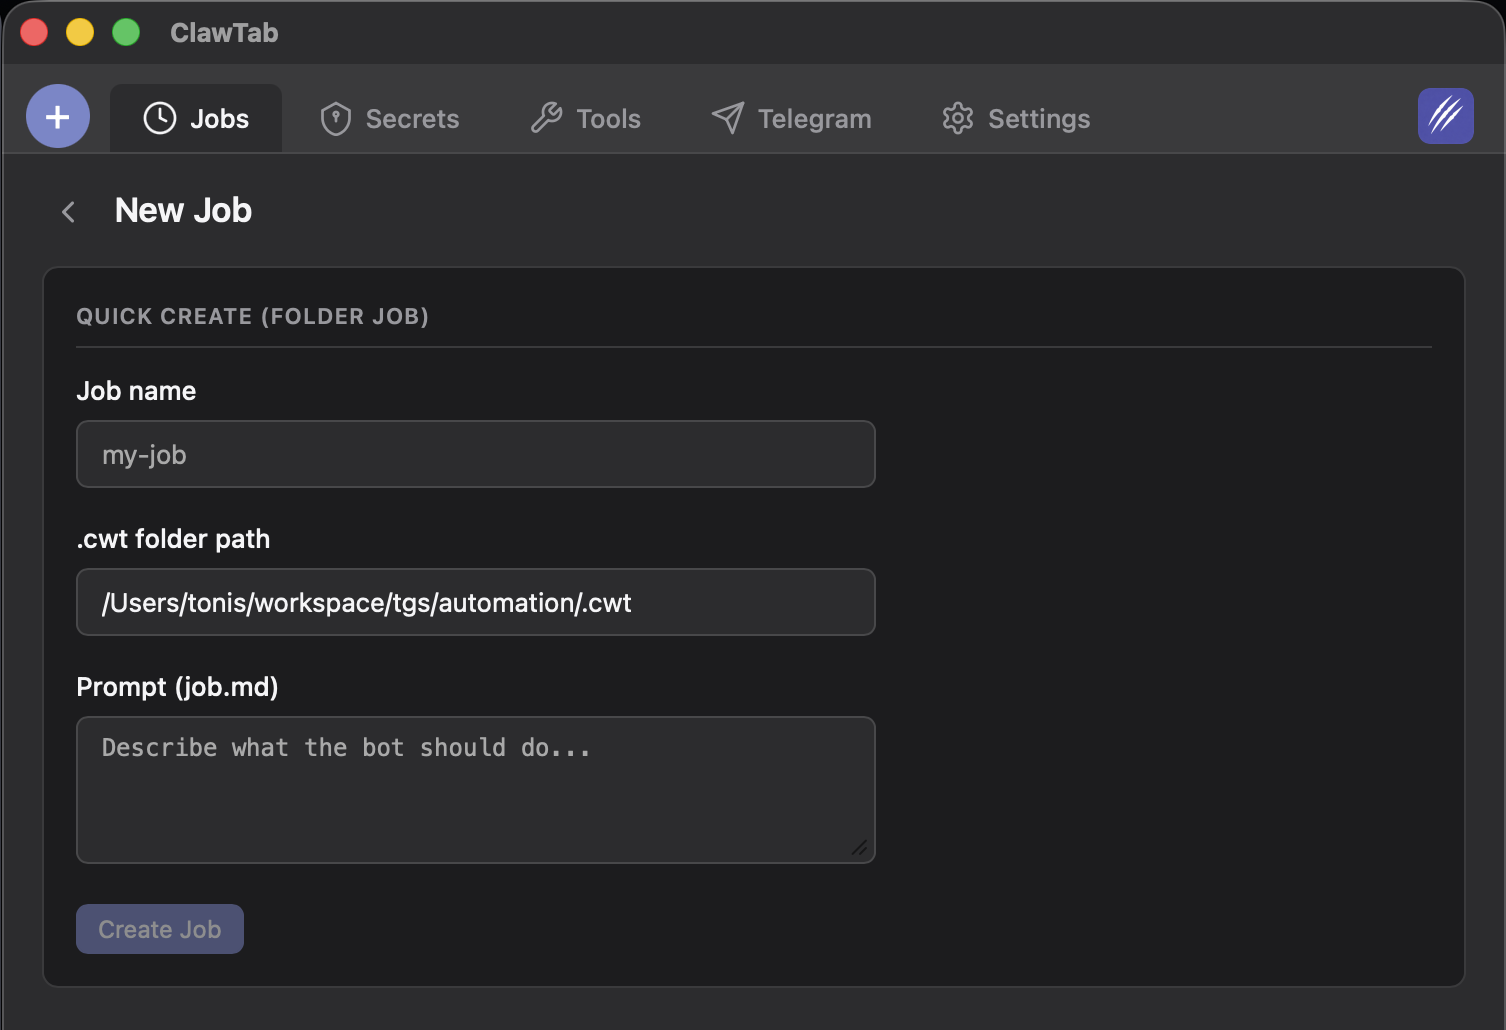
Click the "+" button in the ClawTab panel to create a new job. Fill in:
- Name: Something descriptive like "morning-review" or "test-runner"
- Job type: Claude Code
- Prompt: The instruction for the agent. Keep it specific: "Review all open PRs in this repo and post a summary comment on each one" is better than "do code review."
- Working directory: The folder where the agent should run. Usually your project root.
Leave the cron field empty for now - we'll add scheduling in the next step. Click "Save" and then "Run" to test your job.
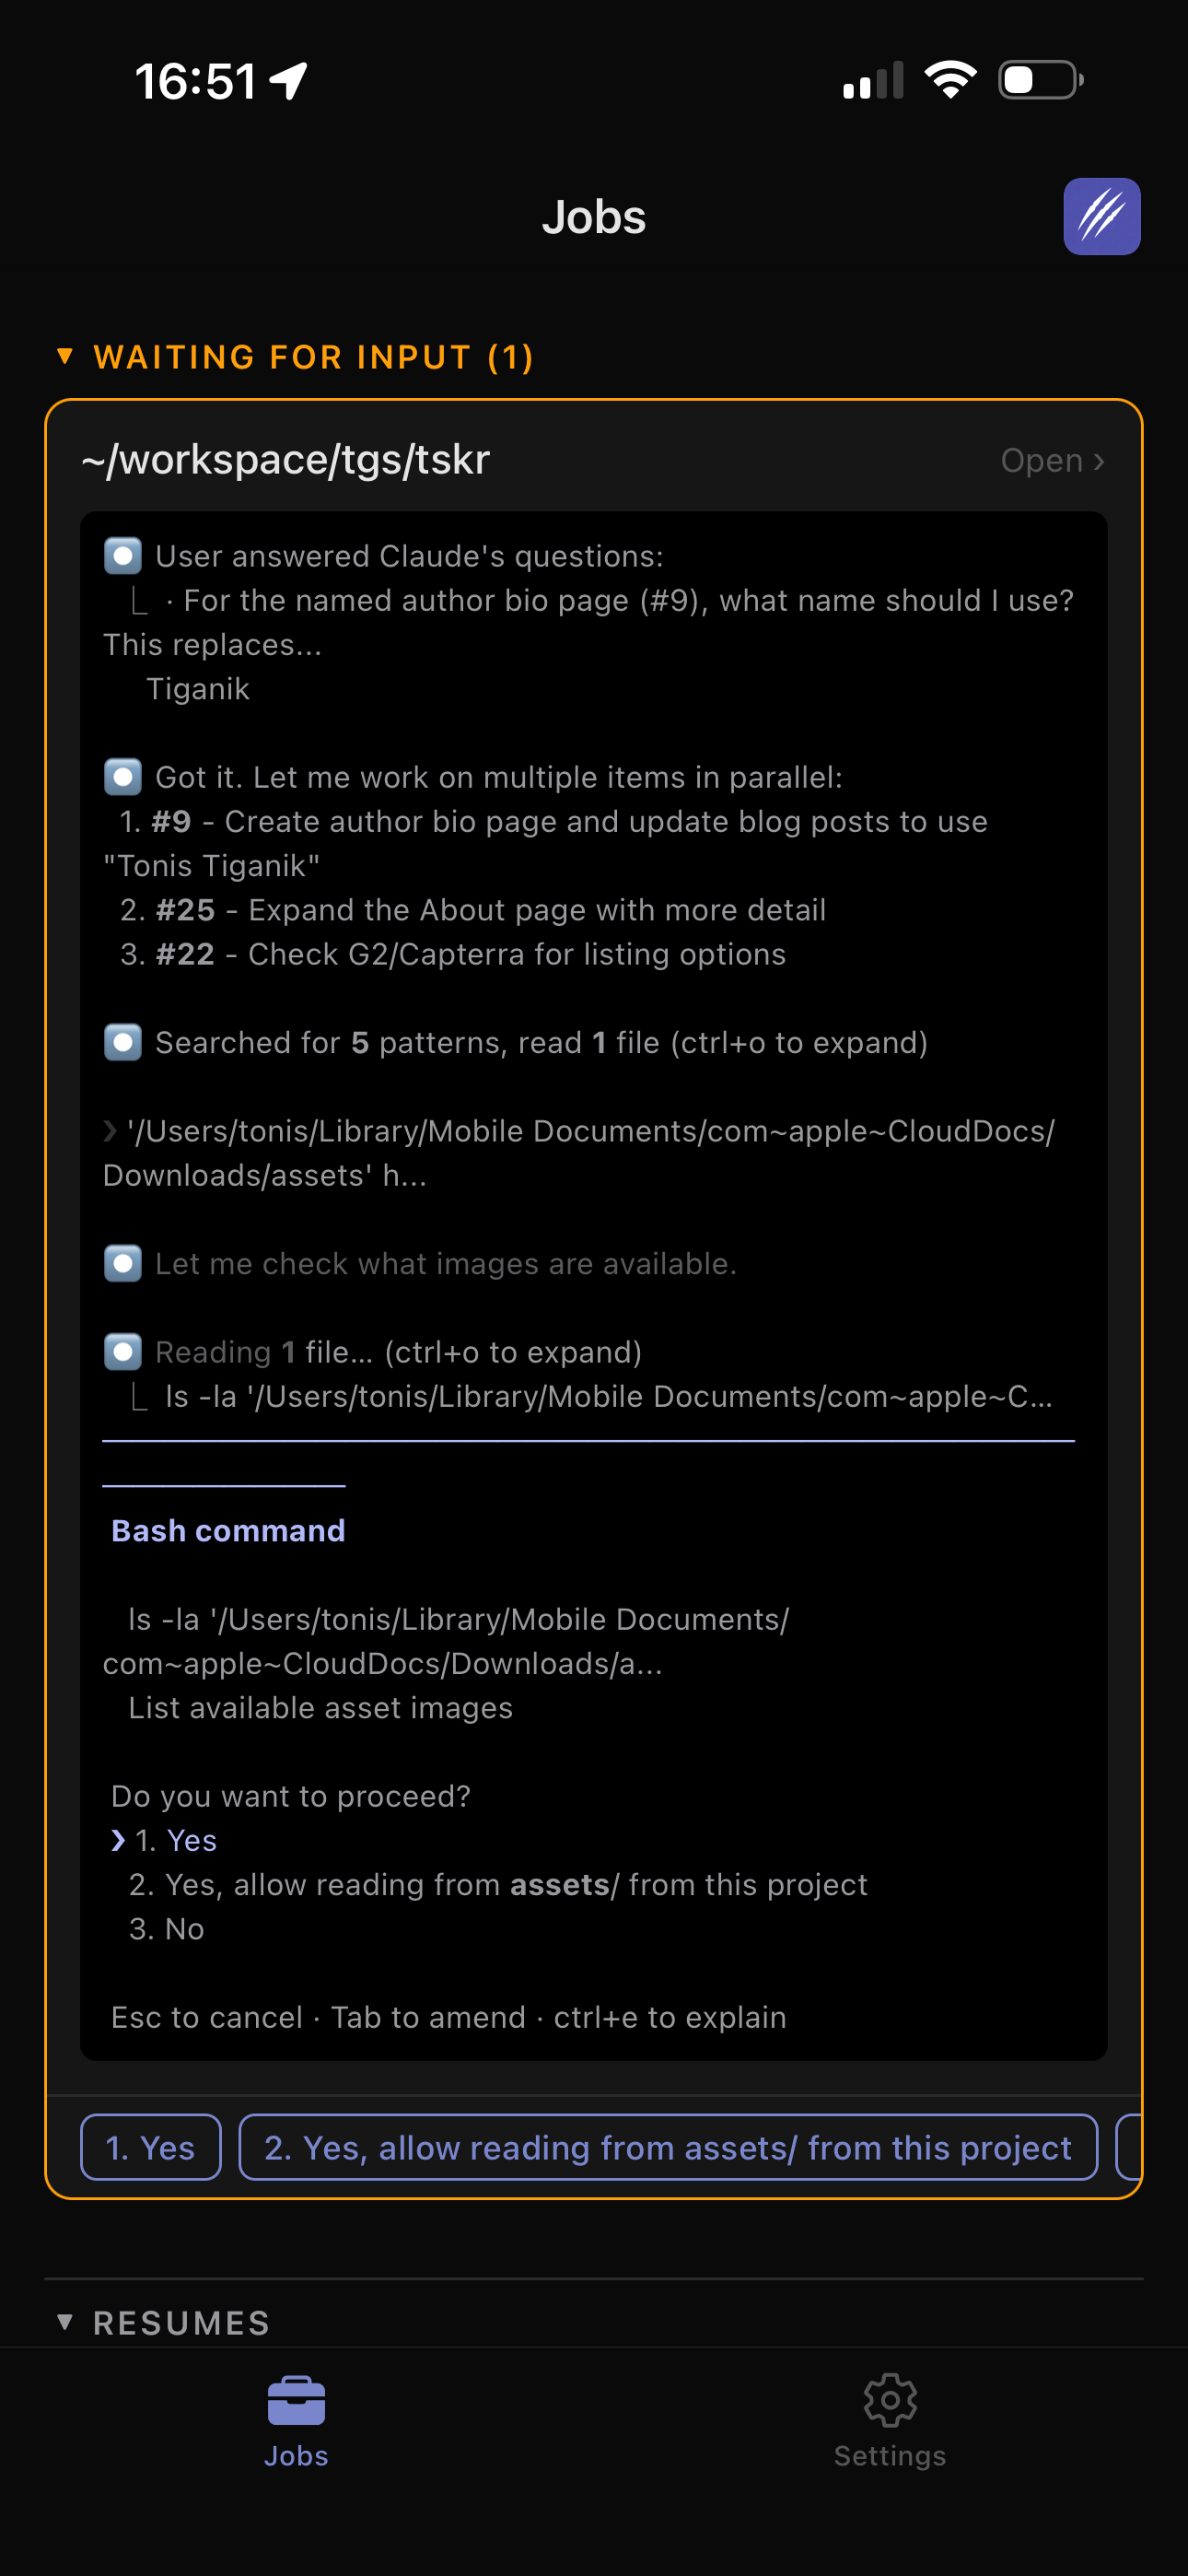
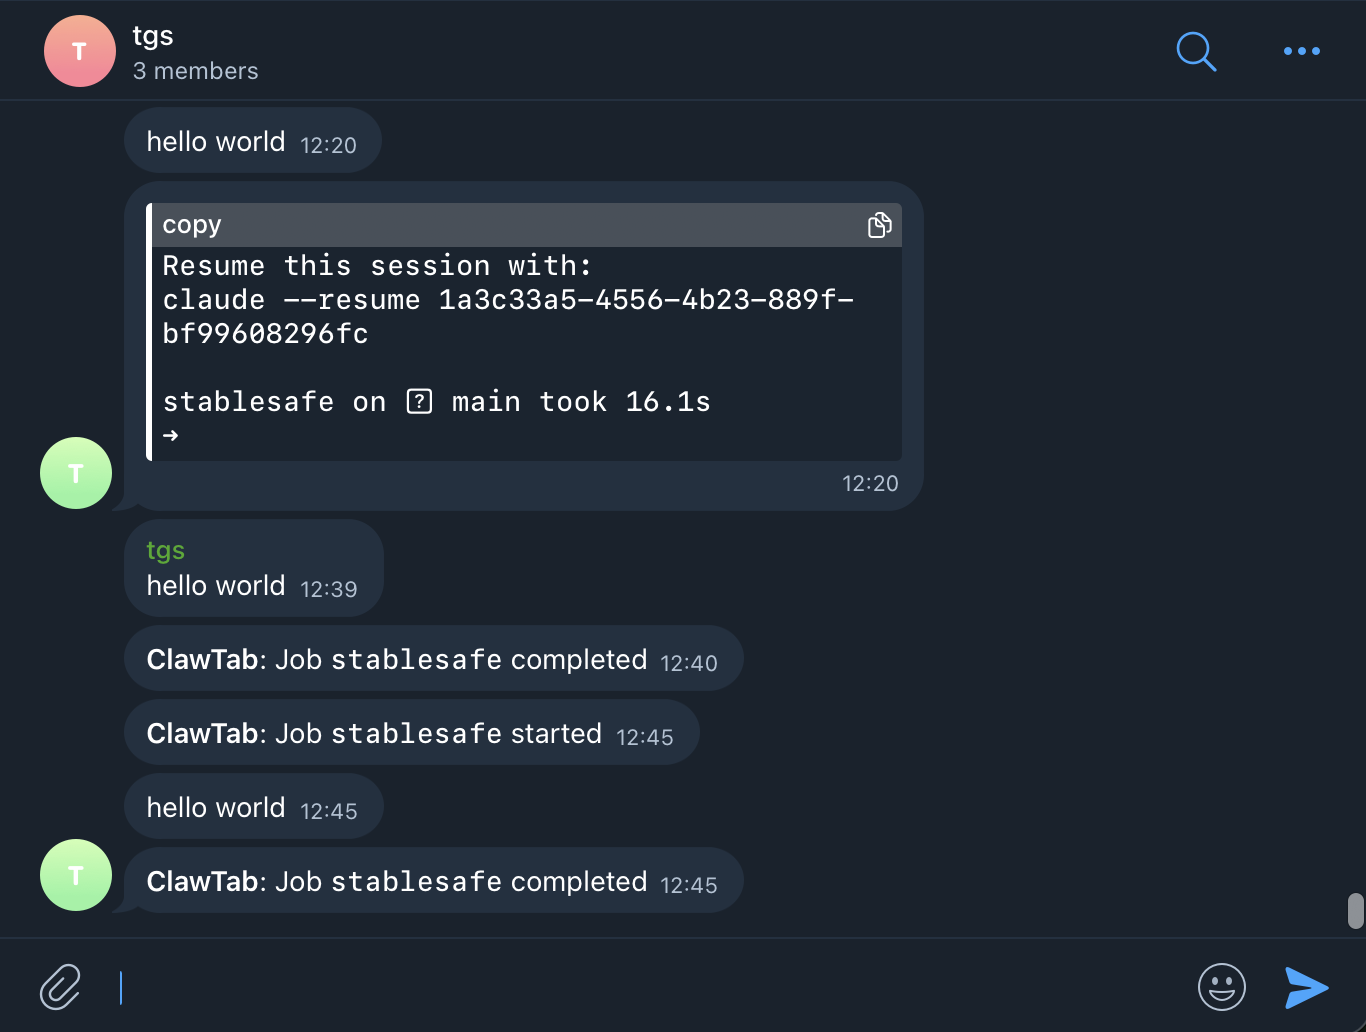
ClawTab creates a tmux session, launches Claude Code with your prompt inside it, and starts monitoring. You'll see the job appear in the jobs list with a "Running" indicator. Click on it to see live logs.
Jobs are stored centrally at ~/.config/clawtab/jobs/. For project-based workflows, you can write a shared context.md at the project level in central storage with project conventions and architecture notes that every job in that project will read.
Step 3: Add a Cron Schedule
Edit your job and add a cron expression. ClawTab uses standard 5-field cron syntax:
# Every weekday at 9:00 AM
0 9 * * 1-5

# Every 6 hours
0 */6 * * *

# Monday and Thursday at 2:00 PM
0 14 * * 1,4

# Every 30 minutes (for monitoring jobs)
*/30 * * * *
ClawTab polls every 30 seconds and fires the job when the cron matches. If a job is already running when its cron fires again, it skips that run - no duplicate agents.
The cron schedule is optional. You can always run jobs manually from the UI or via cwtctl run group/job-name. Some jobs work better as manual triggers (one-off refactoring) while others benefit from a schedule (daily reviews, monitoring).
For a deeper dive into scheduling patterns and edge cases, see Claude Code Cron Jobs.
Step 4: Enable Auto-Yes
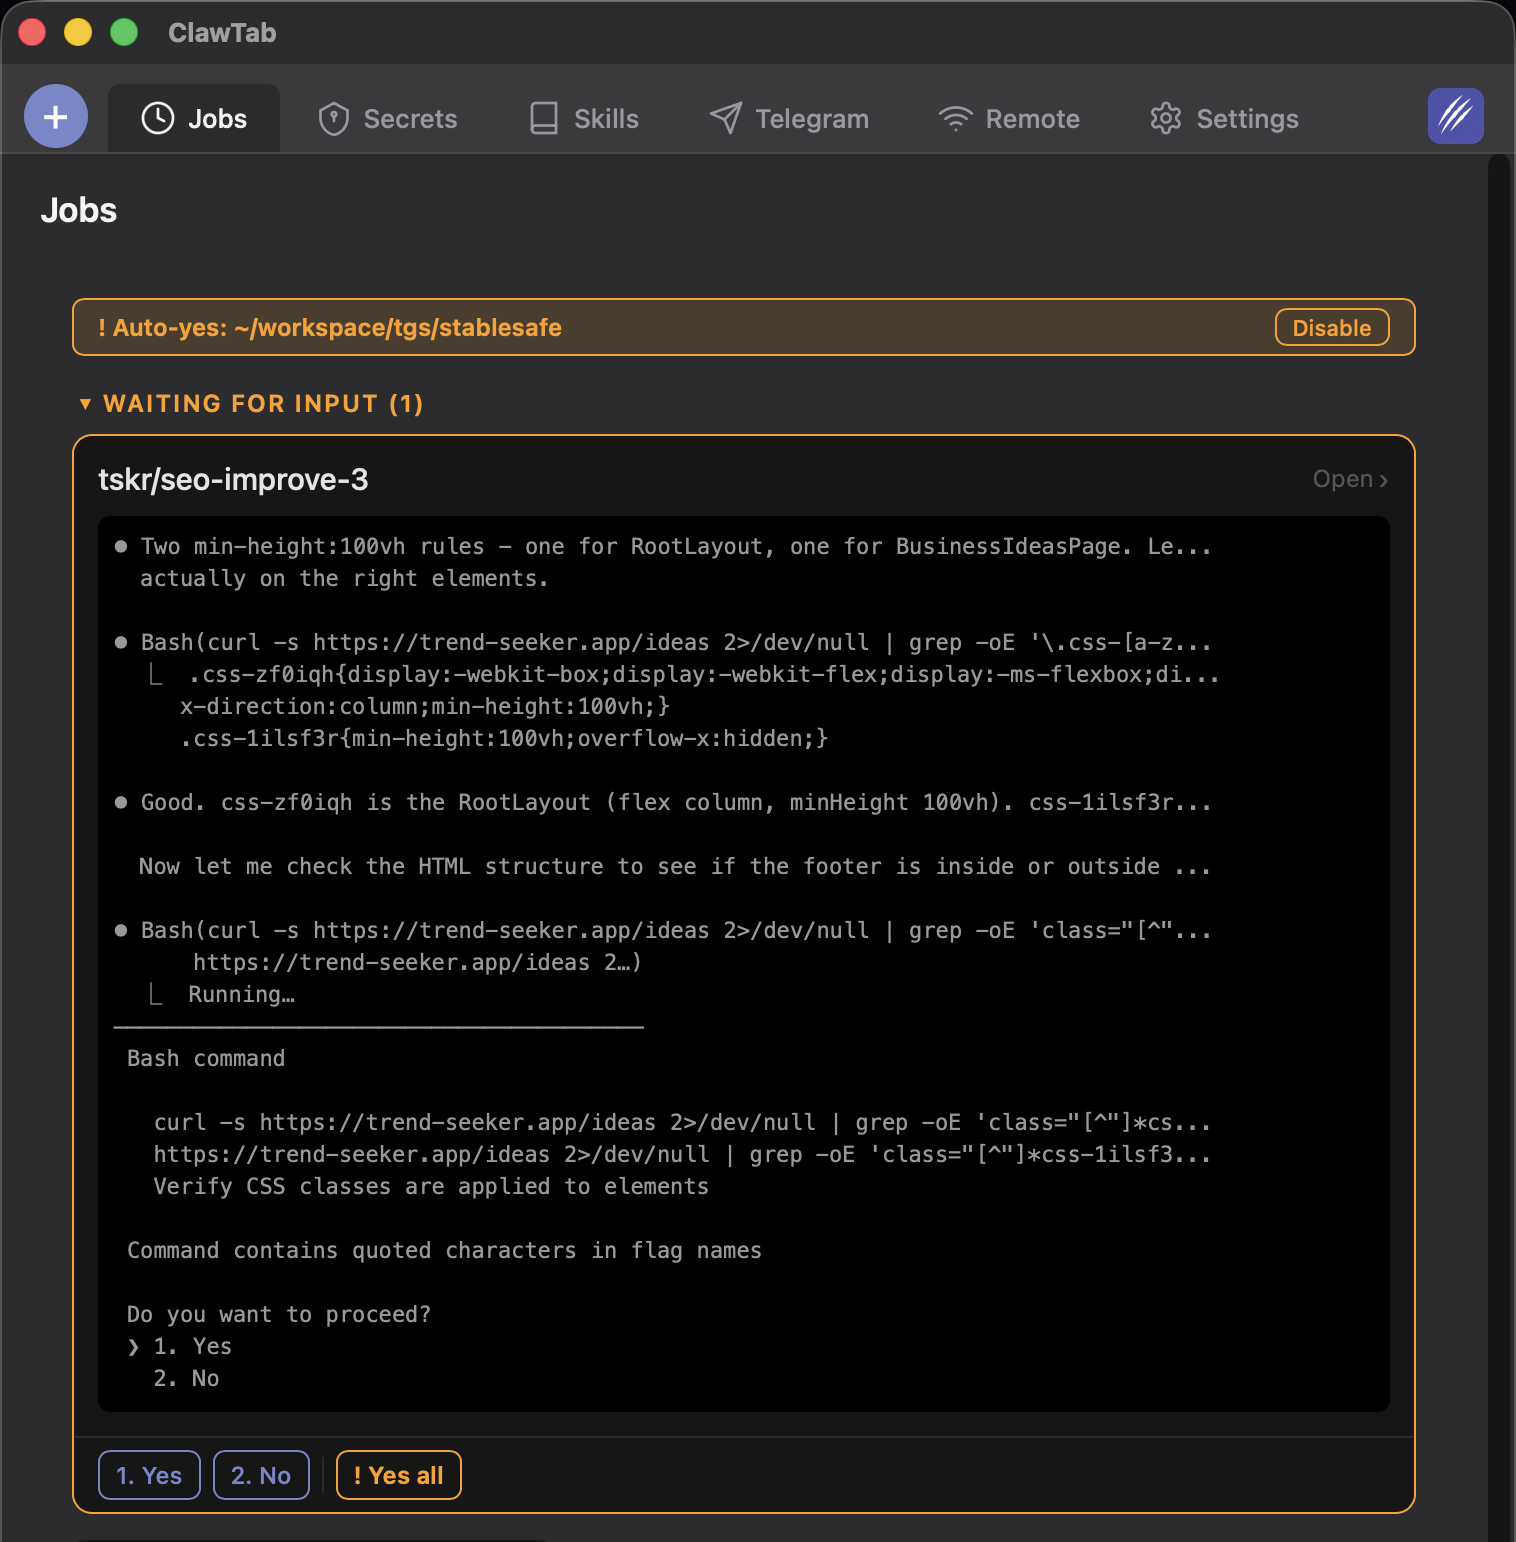
Claude Code asks permission before writing files, running commands, and installing packages. In an automated setup, these prompts stall the agent until someone responds.
You have two options:
- Auto-yes mode - ClawTab watches for permission prompts and automatically accepts them. Enabled per-pane, so different agents can have different policies. Prefers session-scoped permissions over permanent ones.
- Manual from your phone - Get a push notification when the agent asks a question, tap the answer on your phone. Takes 5 seconds but keeps you in the loop.
For fully unattended automation, enable auto-yes on the job. You can do this from the desktop app or from your phone when the first permission prompt arrives (tap "Yes all").
Auto-yes is safer than --dangerously-skip-permissions because it only accepts prompts that match "Yes" patterns, works per-pane rather than globally, and can be disabled instantly from any device.
For jobs where you want to review permissions but don't want to be at your desk, the phone notification approach works well. You get notified, tap the answer, and the agent continues. The delay is usually under 10 seconds.
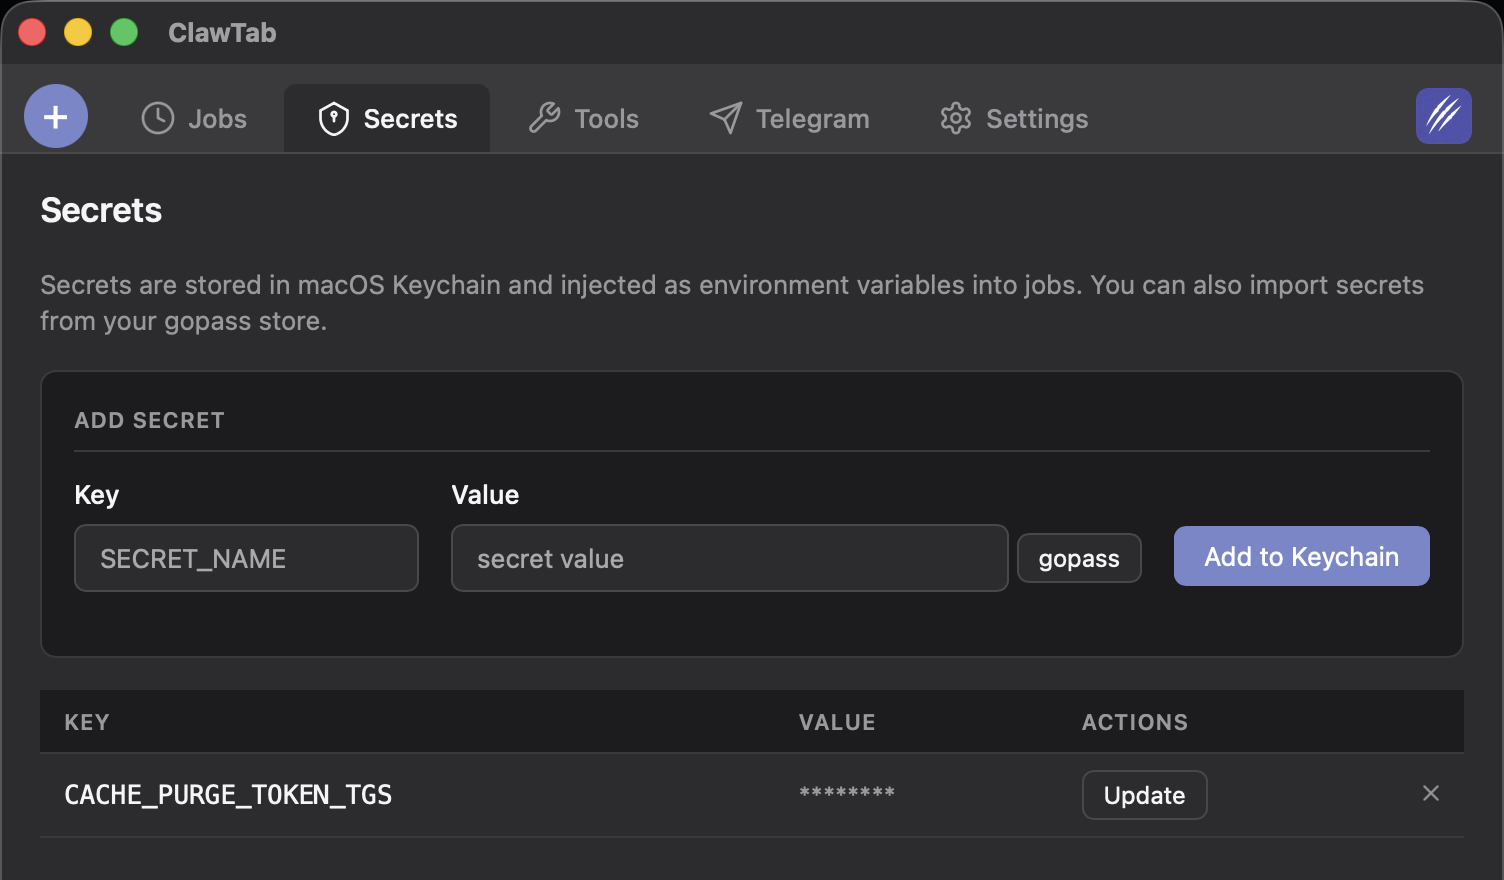
Step 5: Inject Secrets
Agents often need API keys, tokens, and credentials. Hardcoding them in prompts or environment variables is risky - they end up in logs, git history, and plain text config files.
ClawTab integrates with macOS Keychain and gopass for secret management. Secrets are injected as environment variables at runtime - they're available to the agent but never stored in ClawTab's config.
# In your job config, reference secrets by name:
name: "deploy-checker"
job_type: "claude"
secret_keys: ["GITHUB_TOKEN", "SLACK_WEBHOOK_URL"]
prompt: "Check deploy status and post to Slack"
When the job starts, ClawTab reads the secrets from your Keychain (or gopass) and sets them as environment variables in the tmux session. The agent can use $GITHUB_TOKEN and $SLACK_WEBHOOK_URL as normal.
To add a secret to your Keychain for ClawTab:
# Via the desktop app: Settings > Secrets > Add
# Or via the macOS Keychain Access app:
# Create a new password item with the service name matching your secret key
See Claude Code Secrets Management for the full setup including gopass for team secrets, per-job scoping, and rotation.
Step 6: Connect Your Phone
ClawTab Remote lets you monitor and control your agents from your phone. You get push notifications when agents finish, fail, or ask questions - and you can respond without being at your desk.
Setup:
- Open ClawTab on your Mac and go to Settings > Remote
- Open remote.clawtab.cc on your phone (or install the iOS app)
- Scan the QR code shown on your desktop
Your phone connects to your Mac through a relay server over encrypted WebSocket. You can now:
- See all running and scheduled jobs
- Watch live agent output as it streams
- Answer permission prompts from push notifications
- Enable/disable auto-yes per pane
- Start, stop, and restart jobs
- Share your workspace with teammates via workspace sharing
The mobile app is optional. Your agents run fine without it. But it changes the workflow from "check on my agents when I'm at my desk" to "get notified and respond from anywhere."
Step 7: Add Telegram Notifications
Telegram integration gives you a second notification channel. Useful as a fallback when push notifications are unreliable, or for teams that already use Telegram.
Setup:
- Create a Telegram bot via @BotFather
- Add the bot token and your chat ID to ClawTab's settings
- Enable Telegram notifications per job or globally
ClawTab sends Telegram messages when agents ask questions, complete, or fail. You can also reply to Telegram messages to answer agent questions directly from the chat.
This is particularly useful for cron jobs that run overnight. You wake up to a Telegram thread with a summary of what each agent did, any errors it hit, and whether it succeeded.
Putting It All Together
Here's what a fully automated setup looks like for a team of three projects:
# Project A: daily code review
name: "projecta-review"
job_type: "claude"
cron: "0 9 * * 1-5"
prompt: "Review all open PRs and post summary comments"
auto_yes: true
secret_keys: ["GITHUB_TOKEN"]

# Project B: nightly test runner
name: "projectb-tests"
job_type: "claude"
cron: "0 2 * * *"
prompt: "Run the full test suite. If anything fails, open a GitHub issue with the failure details."
auto_yes: true
secret_keys: ["GITHUB_TOKEN"]

# Project C: weekly dependency updates
name: "projectc-deps"
job_type: "claude"
cron: "0 10 * * 1"
prompt: "Check for outdated npm packages. Update any that have minor or patch releases. Run tests. If tests pass, commit and open a PR."
auto_yes: true
secret_keys: ["GITHUB_TOKEN", "NPM_TOKEN"]
All three jobs run automatically on their schedules. Auto-yes handles permission prompts. Secrets come from your Keychain. Push notifications go to your phone. Telegram gets a copy. You review the results when it's convenient.
The total setup time for this configuration is about 10 minutes. After that, these agents run themselves indefinitely.
Tips for Reliable Automation
A few patterns that make automated agents more reliable:
- Write specific prompts. "Review the open PRs in this repo" is better than "do some code review." Specific prompts produce predictable results.
- Use centralized job configs with shared project context. Write a context.md with project conventions that every job reads automatically.
- Start with auto-yes off. Run the job manually a few times to see what permissions it asks for. Once you're confident the agent behaves predictably, enable auto-yes.
- Use separate panes for separate concerns. Don't put "run tests AND update deps AND review PRs" in one job. Split them so each agent has a focused task and you can debug failures independently.
- Check logs from your phone. The first time a cron job fires, watch the live logs to make sure the prompt is producing the right behavior. Adjust the prompt if needed.
- Set up Telegram as a backup. Push notifications can be missed. Telegram gives you a persistent record of what each agent did.