Introduction
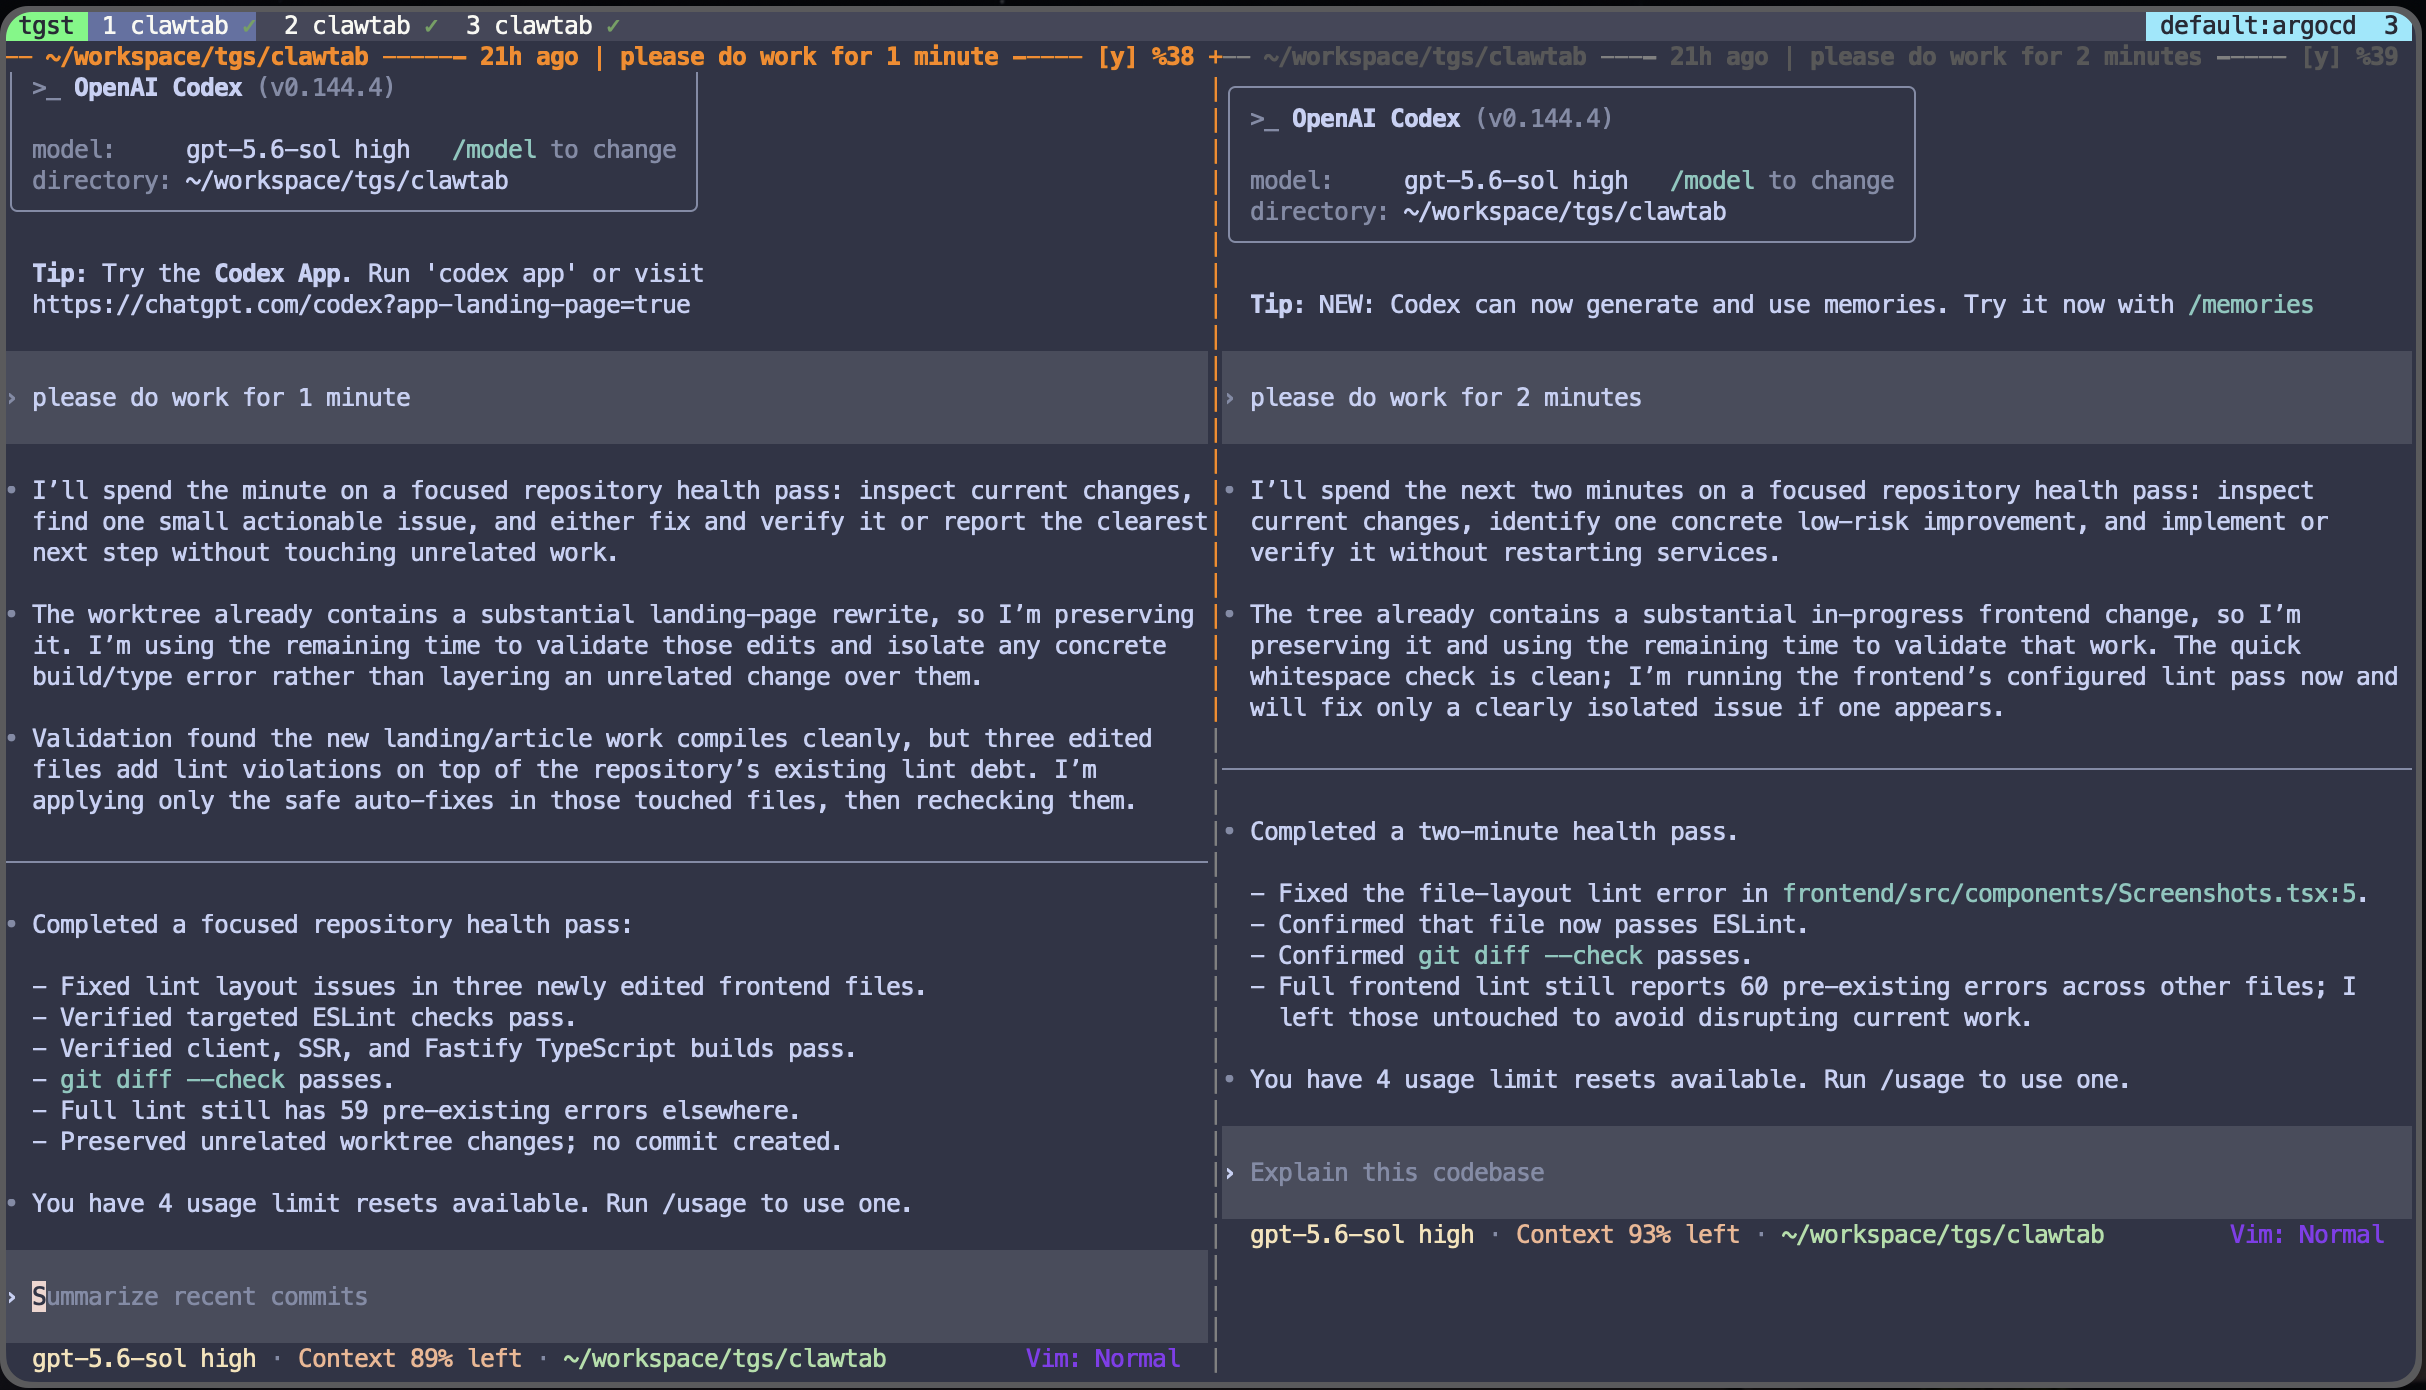
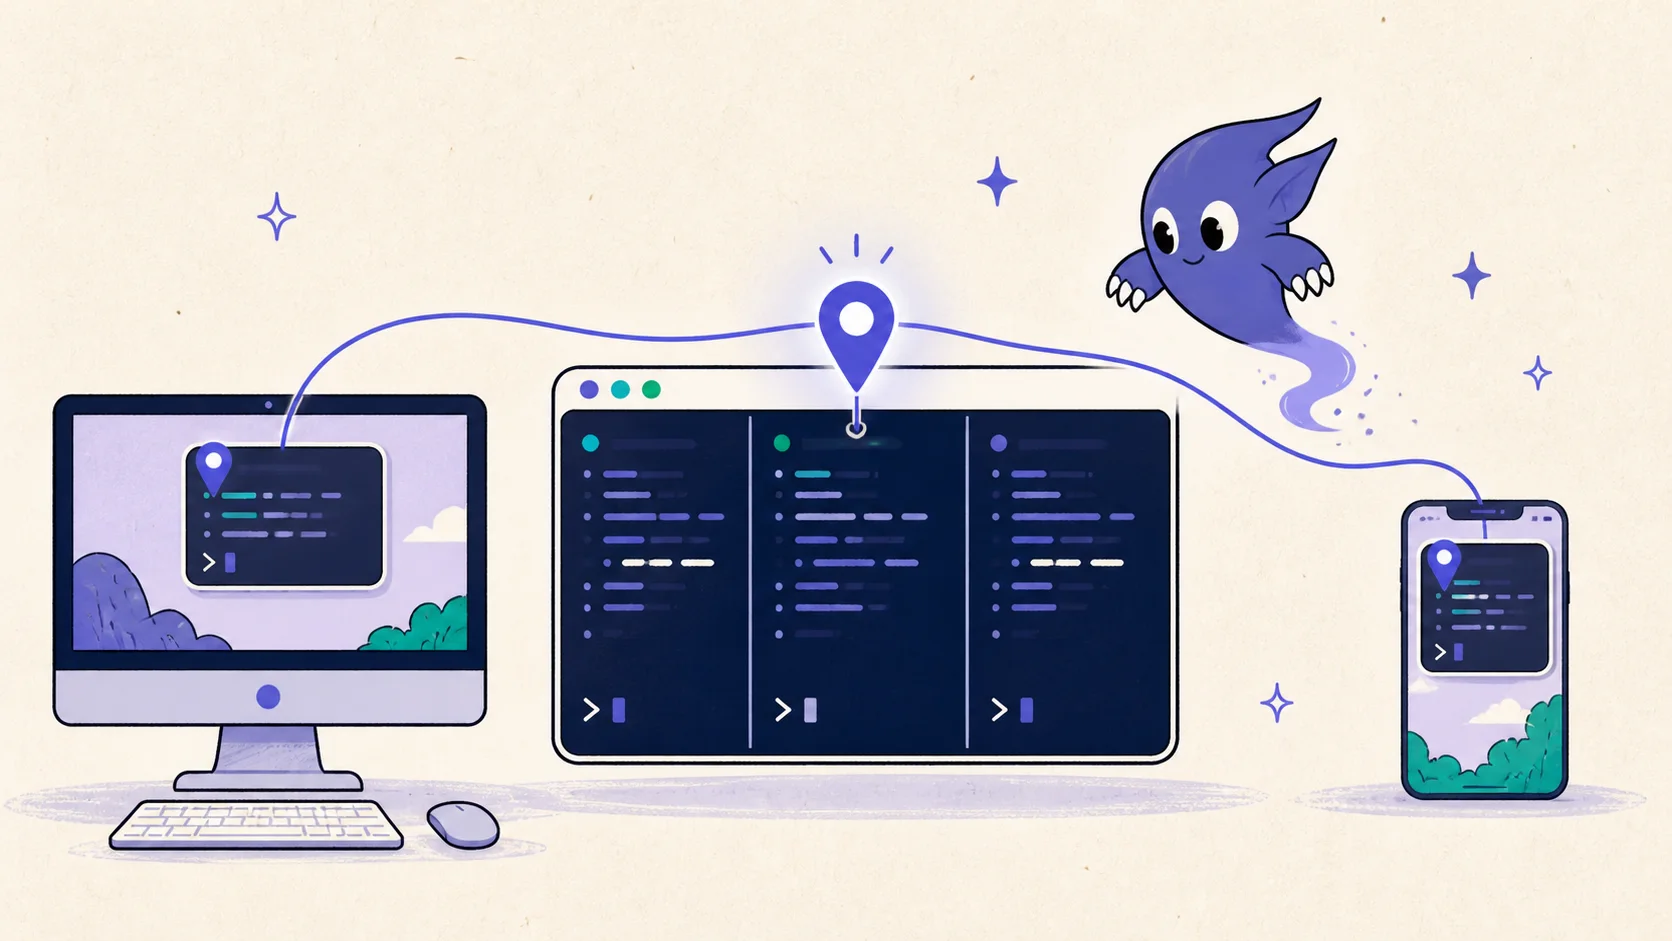
A ClawTab machine is a computer that runs your agents. Your desktop or phone selects the machine, sends commands, and displays its terminals. The repository and the agent process stay on that host.
Each machine runs one clawtab-daemon. That process handles schedules, agent discovery, questions, local CLI requests, and the outbound connection to the shared relay. You do not install a relay or PostgreSQL on every host.
This guide covers a Linux server with systemd and a Kubernetes container. It requires a ClawTab build with machine support and an updated relay. Check the release assets for Linux packages; older macOS-only releases do not contain them.
Where the work runs
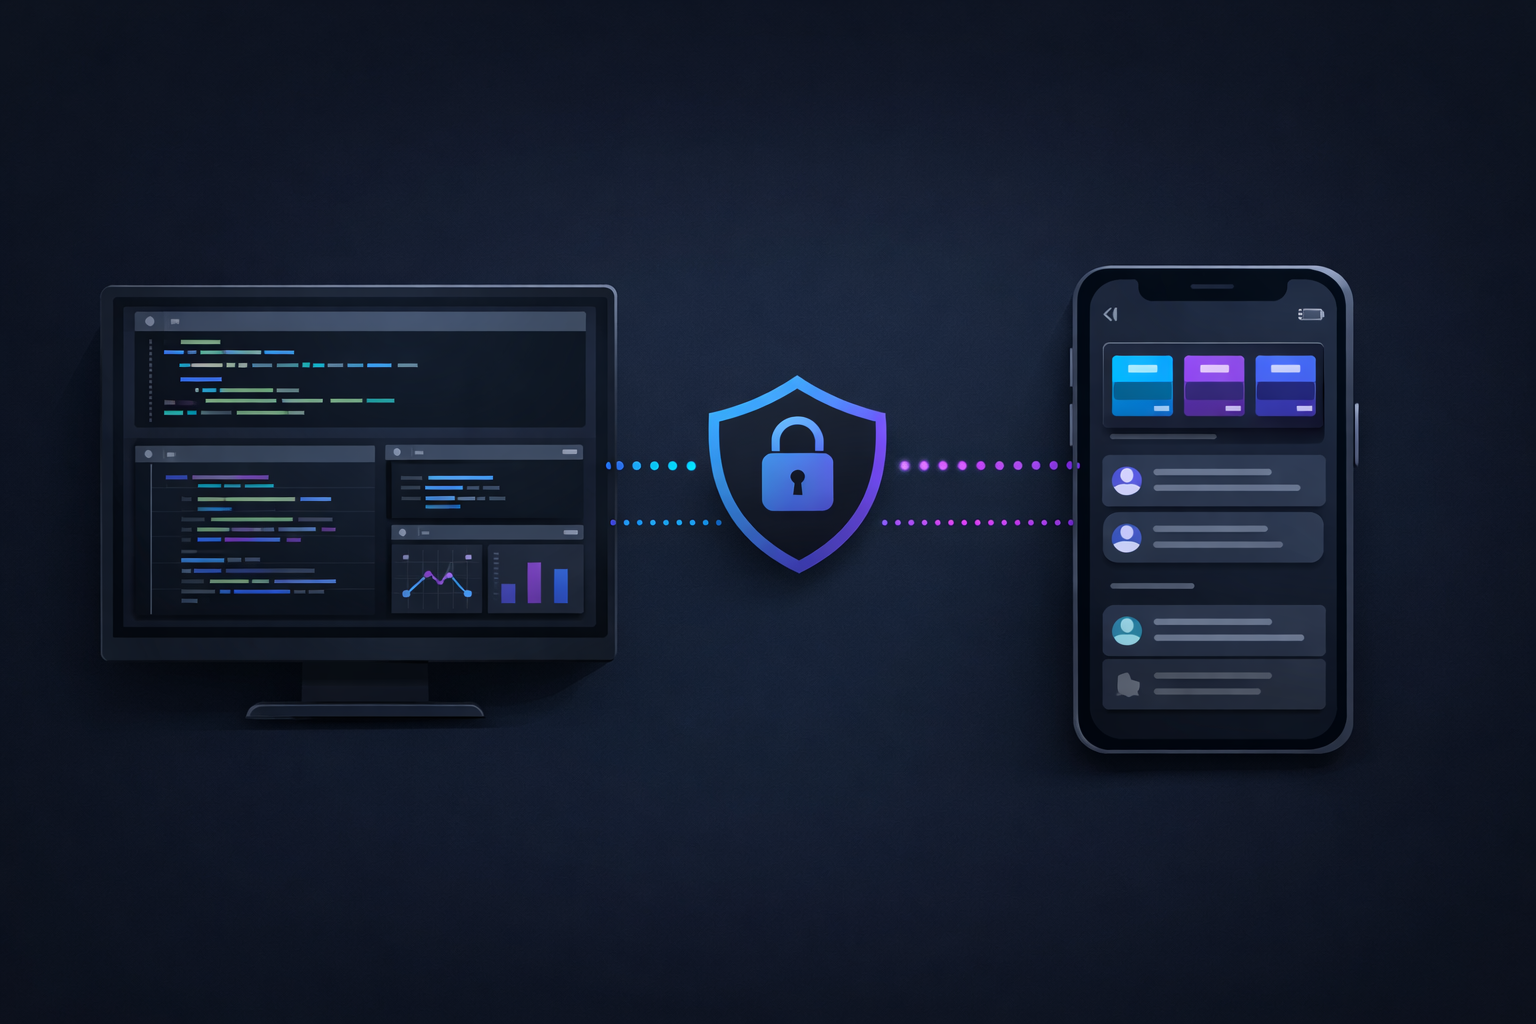
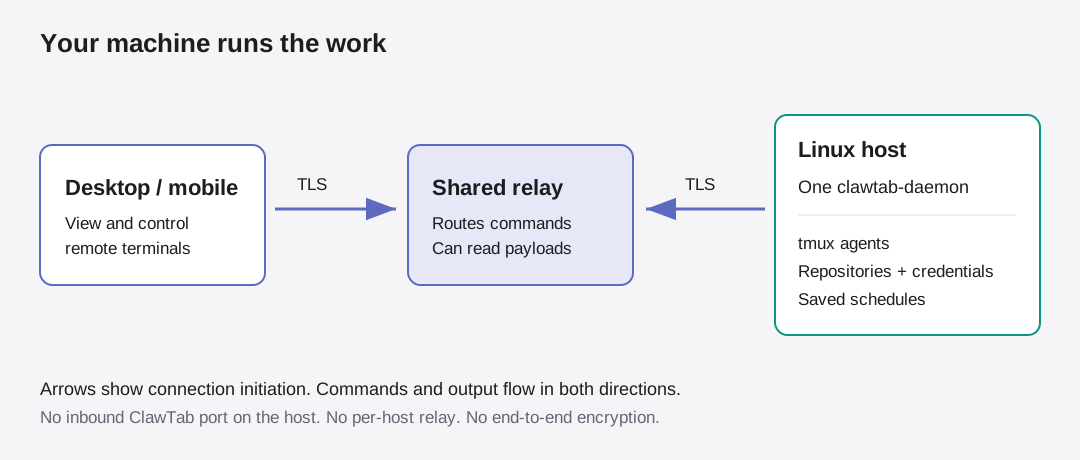
The diagram shows the connection boundary. Both the host and your client connect to the shared relay. No inbound ClawTab port is needed on the Linux machine. You can still use SSH to administer it, install providers, or inspect tmux directly.
The relay carries commands, terminal output, questions, and explicit file transfers. Connections use TLS, but the relay can read those payloads. This is the existing relay trust model; machine support does not add end-to-end encryption.
Prepare the Linux host
Use Ubuntu 22.04 or newer, or Debian 12 or newer, on x86_64 or arm64. A regular server installation needs a working user systemd manager. Install tmux, Git, Python 3, and the provider CLI you plan to run. Authenticate the provider on this host.
Run setup as the user who will own the repositories and agent processes. Give that user a writable workspace. Git SSH keys, provider logins, submodule access, and Git LFS credentials must work there; signing into the desktop app does not copy them.
sudo apt-get update
sudo apt-get install -y tmux git python3 ca-certificates
mkdir -p ~/workspace
Install the Linux package
Choose a release that includes clawtab-linux-x86_64.tar.gz or clawtab-linux-aarch64.tar.gz and its SHA-256 file. Download etc/download-linux.sh from the same release tag in the source repository, inspect it, and run it with that tag.
Replace the example version below with the release you selected. The downloader selects the host architecture, verifies the checksum, and installs clawtab-daemon, cwtctl, and clawtab-hook under ~/.local/bin. The latter two are helpers, not additional services.
# Replace vX.Y.Z with a release that includes Linux assets.
sh download-linux.sh vX.Y.Z
export PATH="$HOME/.local/bin:$PATH"
cwtctl setup --name build-host --linger
Pair the machine with your account
Keep cwtctl setup running. It displays a pairing code that expires in ten minutes. In desktop, open the labeled Machines button, choose Add machine, enter the code, and click Approve machine. Mobile exposes the same pairing action in Machines.
Setup saves the machine credential and installs the user service. New machines are private to their owner. You can grant access to existing workspace guests from the machine's Access tab. Removing a machine revokes its connection; it does not delete its repositories.
--linger asks systemd to keep the user manager running after logout and start it at boot, as described in the loginctl documentation. The host may require administrator authorization. Omit the flag if lingering is already configured. For a self-hosted relay, add --relay https://your-relay.example.
Start a shell, then an agent
Open Machines and select the new host explicitly. In Agents, browse to its workspace and start a shell first. Confirm the directory and tools before launching a provider. The machine name on the launch button tells you where the process will start.
Use Models to configure the model identifiers available on that host. This setting does not install the provider or authenticate it. Once the CLI works on the server, select its provider and model, enter a prompt, and start the agent.
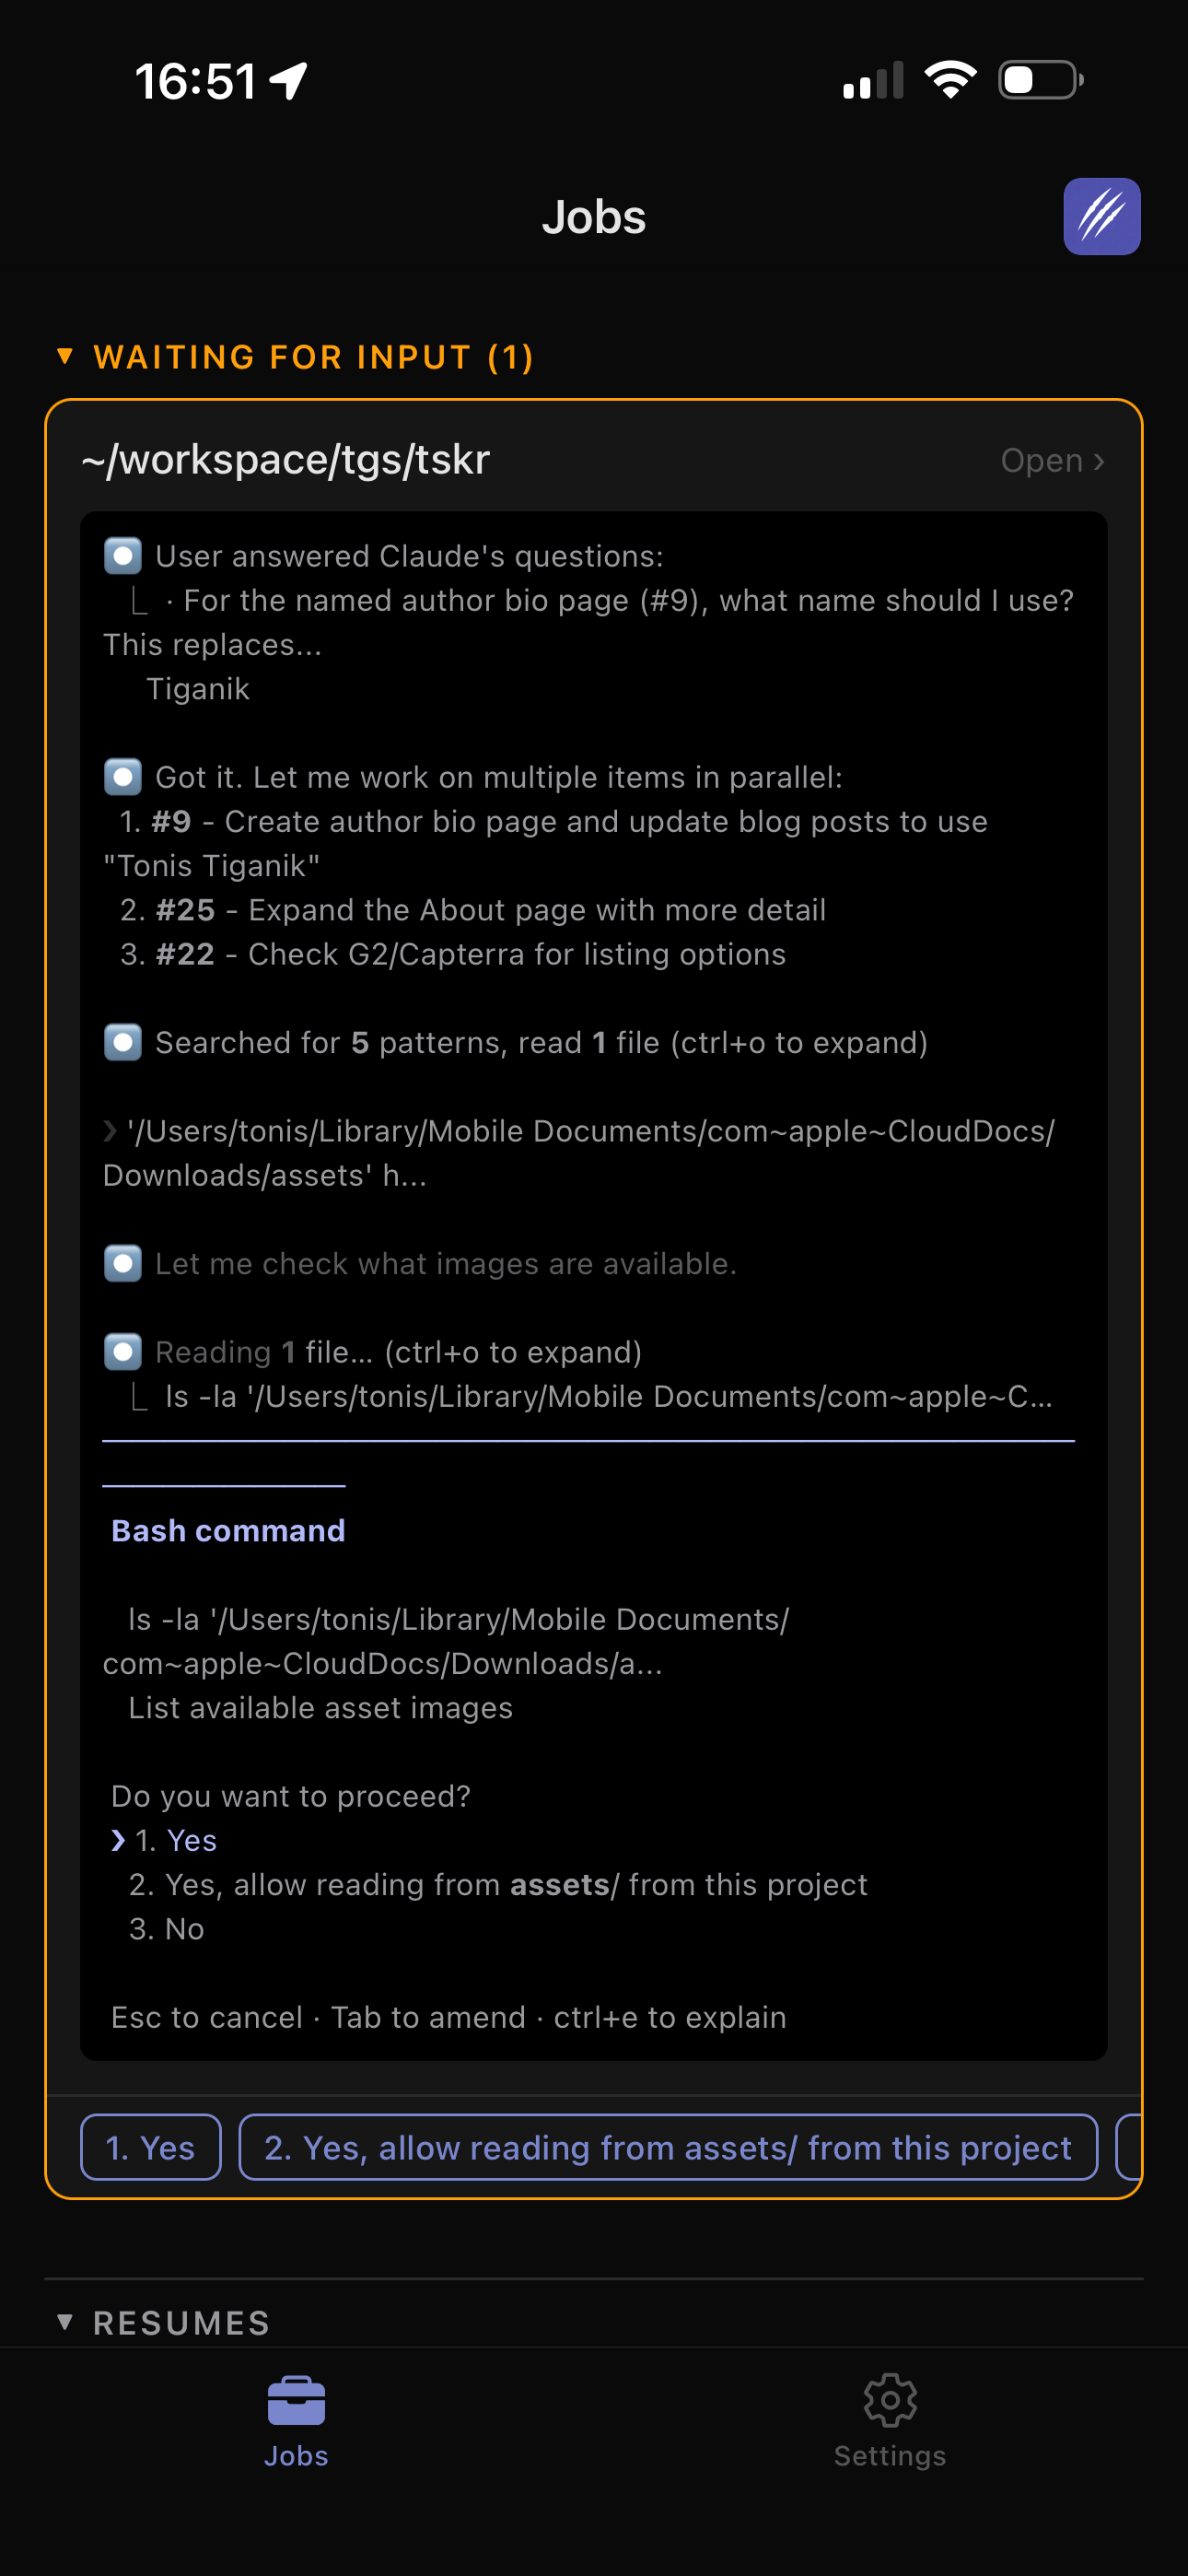
The main jobs and agents list combines accessible machines and shows machine badges. The machine filter limits the list to one host. Terminals support multiple observers, while one relay client holds the input and resize lease. Take control transfers that lease. A disconnected host produces an error rather than launching the command somewhere else.
Bring a repository or send local changes
Use Repositories to clone a repository with the host's Git credentials. You can inspect changes and create a branch in a separate worktree. This is usually the simplest starting point for a server that will keep its own checkout.
Desktop Transfers can send a local snapshot to the host or retrieve one. Preview it first. A snapshot includes history reachable from HEAD, unpublished commits, staged and unstaged patches, and any extra files you explicitly select. The receiver creates a fresh detached worktree instead of overwriting an existing checkout.
| Need | Use | Result |
|---|---|---|
| A server checkout of a hosted repository | Repositories → Clone | A clone authenticated by the host |
| Uncommitted work from your laptop | Transfers → Send | A new worktree containing the snapshot |
| Changes made by a remote agent | Transfers → Retrieve | A new local worktree for review |
| The same running conversation elsewhere | Open its remote terminal | Control the existing process on its original machine |
Transfers are explicit copies, not continuous synchronization or conversation migration. Sensitive working files are excluded from automatic capture, but committed files remain in Git history and explicit selections can include sensitive files. Inspect both the preview and the history you are sending.
Run a machine in Kubernetes
Kubernetes can supervise the same foreground daemon. Build the machine image from a source checkout containing this feature with public/etc/Dockerfile.machine in the application workspace, or etc/Dockerfile.machine in the public repository. Use one replica, a persistent home directory, and a writable private runtime directory.
The image starts the daemon immediately. Run the command below inside the running pod and approve its code in Machines. Setup connects the existing daemon after saving the pairing; local readiness does not depend on account sign-in. --no-service saves the pairing without trying to install systemd. It cannot be combined with --linger.
# This example assumes a StatefulSet named clawtab-machine in namespace clawtab.
kubectl -n clawtab exec -it clawtab-machine-0 -- \
  cwtctl setup --name k3s-agent --no-service

# Once paired, check the daemon through local IPC.
kubectl -n clawtab exec clawtab-machine-0 -- cwtctl jobs list
Keep files through pod replacement
Mount a persistent volume at /home/clawtab so repositories, settings, provider logins, and the machine credential survive pod replacement. A one-replica StatefulSet provides a stable identity and volume association; see the Kubernetes StatefulSet documentation.
Use a non-root user and leave the Kubernetes service-account token unmounted unless an agent task explicitly needs cluster access. The ClawTab connection itself only needs outbound network access. There is no need for an ingress, a NodePort, or a relay sidecar for this machine.
The persistent volume stores files, not running processes. Replacing the pod ends its tmux server and agents. A node-local volume also stays tied to its node; it does not make the workspace portable across a cluster failure.
Check service state and troubleshoot
On a normal Linux host, use the commands below to inspect the user service. If the host is offline, check its outbound relay connection and saved pairing. If an agent fails to launch, check its executable, model identifier, working directory, and authentication on that host.
For containers, use kubectl logs and local cwtctl requests. An unready container needs a daemon or local IPC check. An unpaired container can be locally ready while it waits for account approval. An error about an existing pairing requires a deliberate --replace, not repeated setup attempts.
cwtctl daemon status
cwtctl daemon logs

# After installing an update, restart when you are ready.
cwtctl daemon restart
What survives a restart
On a systemd host, restarting ClawTab's daemon leaves the separate tmux sessions running. A host reboot does not recreate those running agents. In Kubernetes, replacing the container ends all processes in it, including tmux. Scheduled jobs continue following their saved schedules when the daemon returns.
| Event | Repositories and configuration | Running agents |
|---|---|---|
| Close desktop or mobile | Stay on the host | Keep running |
| Restart daemon on a systemd host | Preserved | tmux sessions remain |
| Reboot the host | Preserved on disk | Not recreated automatically |
| Replace a Kubernetes pod | Preserved on its persistent volume | End with the old container |
For the daemon architecture, read how ClawTab uses one daemon and tmux. For account sharing, see workspace access. The machine reference documents transfer limits, access rules, and rollout requirements.